Swapping "Old Smoky" for Fresh Grey
This page covers the actual engine swap - very basic stuff, but a few interesting discoveries on the way...
First I stuffed some rags under the rear corners of the bonnet so the paint would not be scratched while I was removing it.

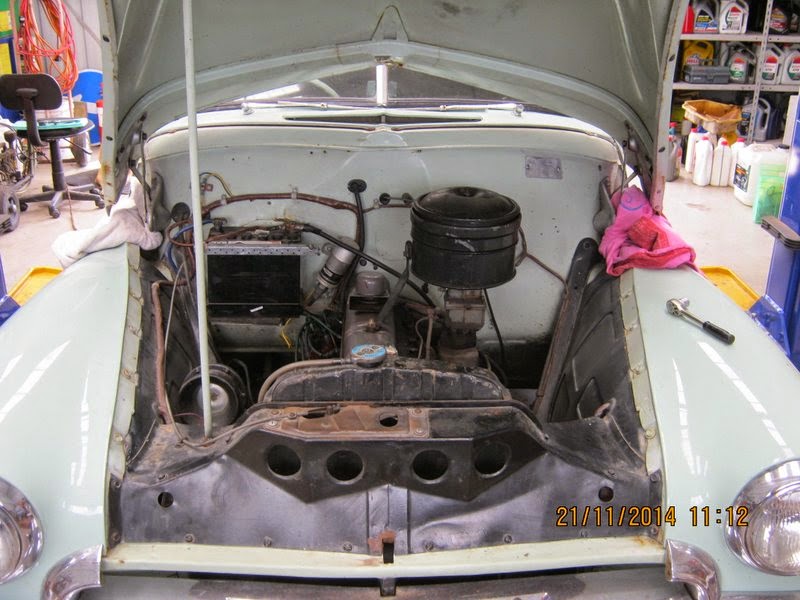
Bonnet off and front upper panel removed - access is pretty good and I can use the hoist to adjust it to a comfortable height. Luxury compared to the days of axle-stands in the driveway - my ancient back is very grateful.
While I was "undressing" the motor, I had noticed it moved around a lot on the mounts. Video above shows how much it got around with all mounts still attached and tight. That's right, I'm just shaking the motor with one hand while holding the camera in the other. Maybe some new mounts, what do you reckon?


The engine mounting rubbers were pretty sad, particularly the single front mount (left). Jellied eel, anyone?


The rubber mounts that isolate the front suspension crossmember from the vehicle frame were very perished on the right hand side. These are relatively cheap, so I will get a set and replace both sides while I'm here. Check out the "Front Crossmember" page for this and other front suspension repairs.

It was pretty clear we'd be needing a clutch plate too - this one is worn down to the rivets. There is no damage to the pressure plate or flywheel, though, so I'm just going to put a new friction plate in for now to keep costs down.


Okay - booboo time. You can see in these pictures that the front mounting plate is different on the FE (left) and the FJ (right) motors. Its off with the front covers and swap the plate over. Or it *would be* if my buddy had finished the crank damper puller he is making for me .......

The rocker cover on the "new" engine has damage to the fixing stud holes. The photo is taken inside the cover and shows where the acorn nut which secures the cover has been over-tightened and has damaged the hole. It will never seal now. This can be repaired, so I will hang on to the cover, but will use the one off the original motor for now.

The FJ mounting plate fitted to the FE motor. Through the magic of photography the swap-over looks instant, but I can tell you it represents a few hours of work because both engines had to be partly dismantled (rockers, pushrods, cam followers, camshaft, covers, etc.) to get the plate off. I guess I'll know next time, right?

The unit is pretty fiddly to get into place - I found I had to temporarily remove the engine mounts so I could maneuver it into position. Still - much, much easier than most modern cars.

Manifolds and ancillaries going on. Again, clean fasteners and threaded holes, plus checking everything for a proper fit will aid reliability.

Another common problem on older cars - the various linkages (gearshift/clutch/throttle, etc) wear out at the pivot points. Sloppy linkages like this throttle rod can cause sticking or even pop off or break.
Building the wear surface up with weld works well - the welded section is actually harder than the rest of the rod, so should last well.
Fuel Pump Rebuild


It turned out the sealant was covering the air filter/vent aperture. This may have been sealed up to stop oil blowing out of it because of a pressurized crankcase caused by blowby in the very worn original engine.

I used some nylon mesh (actually, a piece of a pot scrubbing pad) to act as a filter. The valves and diaphrams looked to be in good shape, so I just gave the pump a good clean and put it back together.

Fitted in place ready for the fuel and vacuum lines to be fitted. All the original pipes are intact, which gives a nice factory-finished look to the under-bonnet area. Usually, these pipes have been chopped about and/or replaced with rubber hose.

I have tried turn it over on the starter, but it just won't spin. The motor is quite tight with the new rings and bearings, so I suspect the starter is just not up to it. It spun the old motor over easily, but that one was very loose and had practically no compression, so much easier.
The motor will loosen up very quickly once it is running, so I will probably tow-start it once I have everything back in place. (And the brakes working!)
I love those old FJs and there are not many left now.
ReplyDeleteHi my FE fuel Pump to Block Gasket has a gap there when tightened up and gasket is loose.
ReplyDeleteAny ideas
Thanks
MARIAN